I decided to make another podaegi for a friend! Since this one is different than the first, I felt the need to make another tutorial. I used duck for the blanket and twill for the straps. This meant I didn’t have to use a hidden strip of duck for anchoring the straps. If you don’t want the x boxes to show, then and inner layer is totally fine.
I chose to do nice wide wrap straps with a box pleat and tapered tails. It is seriously comfortable and I will need to make one for myself!
Supplies
– 2.5yds of bottom weight fabric, wash it first (I had 2.5yds of the brown twill, 60in wide and 1yd of duck in giraffe print, I think 45in wide)
– matching thread, a decent all purpose polyester
– jean needle
– pins
– fabric scissors, and a rotary cutter
– cutting mat
– iron and ironing board
– measuring tape, seam gauge, and yard stick
– sewing machine
– pen and fabric marker or a colored pencil (I used white)
The straps can be shorter than 2.5yds depending on the size of the wearer. I not only wanted to make sure it fit my friend and her husband but will be using the leftovers for a ring sling for her. If your fabric is 60in wide, you could make the whole podaegi from the one 2.5yd piece and have a little leftover.
Blanket (1)
Start by measuring out your blanket piece on your duck fabric. Account for your seams and for the fabric folded over at the top. The blanket can be one layer and doesn’t have to be a bottom weight. If you choose to do a light weight fabric then you will need an anchor strip of a bottom weight. Check out my other podaegi post about that.
My piece measured 25in by 33in, including a selvedge. I decided to do wide 3/4in hems based on what I would need to cover my selvedge. I really just didn’t feel like cutting it off but do like how the wide hems look. The next step is to hem three sides.
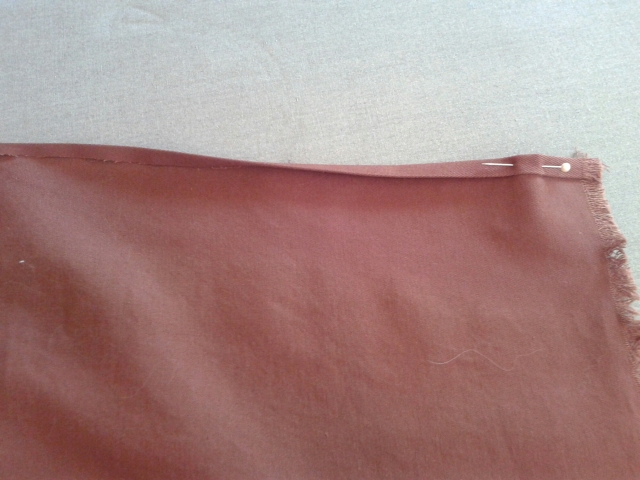
Next, fold down and iron the top. I started with 1/4in then measured 5in and folded that down. This creates the enclosure for the straps.
Straps (2)
Cut two strips 14in by 2-2.5yds. I cut one from each edge of my fabric so I could follow the selvedge and leave the middle 30in for the ring sling.
Hem both long edges of both strips. If you use a smooth selvedge, you can fold those hems once instead of twice.
I chose to do a box pleat for my shoulders after much deliberation. You could pleat or fold them however you like. I had a hard time finding how to do this so here is what I did.
Box Pleat
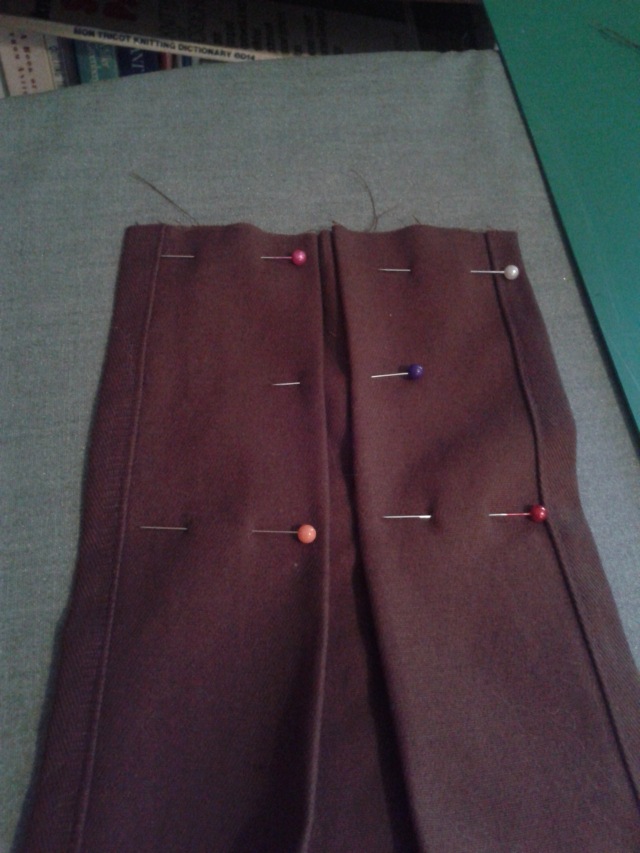
Iron, pin, and baste a square around your pleated end so it is stable while you sew it in place. I made the wings of the pleat open out a little so that it fit snugly in the 5in folded over section of the top of the blanket.
Measure 5in into the flap and pin to mark your depth. Alternately, you could mark 5in on the end of the strap and make it so that lines up with the edge of the blanket flap. Slide the pleated strap into it and pin in place. I wanted the pleat openings on the wrong side, but I have seen it done so it opens up and is visible when worn as well.
X-boxes
First, I sewed around the square and took my pins out as I went. I went back to the ironing board and used a fabric marker and my ruler to draw the X on. I wanted it to look nicer for my friend than I had done on my onbuhimo.
Then, I sewed the X and around the sides three times total.
I finished up by top stitching around the folded over flap of the blanket.
This is a good time to try it on and see if you made your straps the right length. These would be a bit long on little me but they should be perfect for my friend.
I decided to do a tapered tail on the straps. I lined up the tails along the top rail from the x-boxes out and pinned them together. They were a bit uneven, so I measured 5in in from the shorter end at the top of the picture. Then I used my ruler to draw a line for the taper. Pin and cut.
The pointy corner can be a bit difficult. I unfolded it, cut a little bit out, and folded it back down while tucking the corner in.


